
Contact sheets are how photographers have reviewed and edited their film for decades. Whether you’re in your first darkroom class or coming back to analog after years away, a contact sheet lets you see every frame on a roll at once, judge exposure, and scribble editing marks the way working photographers always have.
Quick take: place the negatives emulsion-down on paper, expose until the rebate prints rich black, process the sheet cleanly, and annotate it like a working proof rather than a final print.
What you will need
- Enlarger with timer, negative sleeves, heavy glass or a contact printing frame.
- Paper: RC (resin-coated) for speed/easy washing vs FB (fiber-based) for archival depth and toning potential.
- Chemistry: Developer, stop bath, rapid fixer, running water, optional wash-aid (especially for FB).
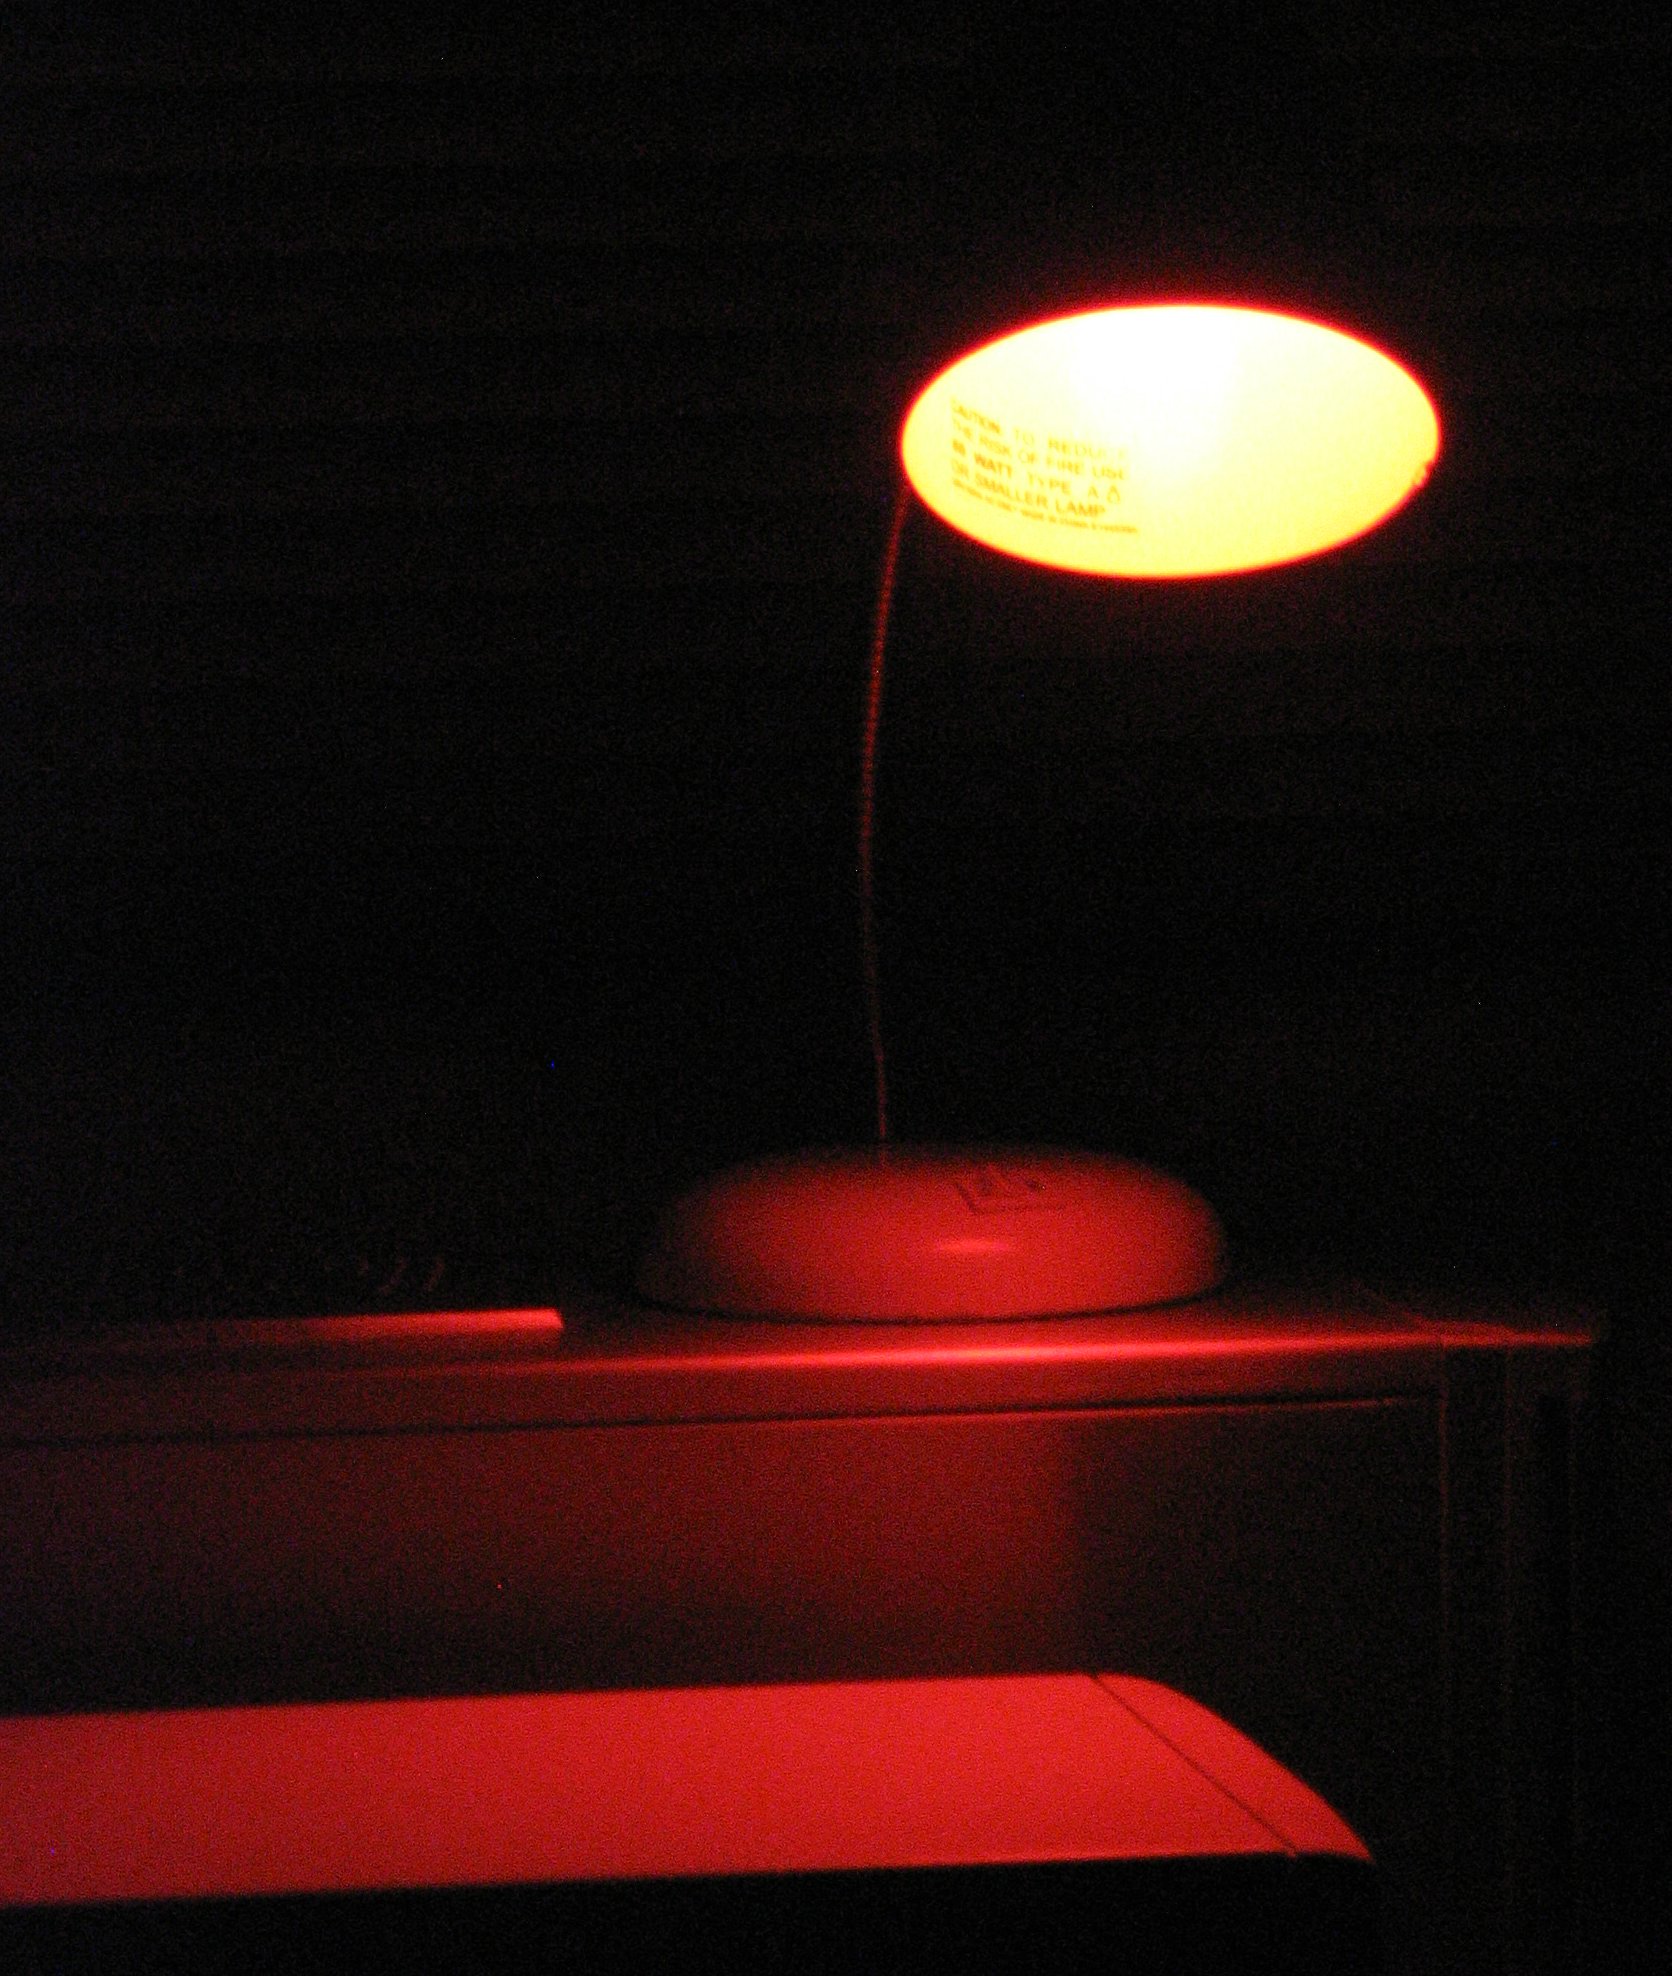
- Safelight (amber/red) for B&W paper. For color RA-4, work in total darkness.
Step-by-step process
-
Arrange negatives on paper
Place enlarging paper (emulsion up) on the easel. Lay negatives emulsion-down. Cover with clean glass to ensure tight, flat contact. -
Test strip exposure
Expose a narrow strip with steps (e.g., 5/8/10/13s). Choose the first step where the clear rebate prints pure black this becomes your Standard Printing Time (SPT) for the roll.
-
Expose the full sheet
Print the whole sandwich (negatives + paper + glass) at the SPT. -
Develop → Stop → Fix → Wash
- RC: quick wash (~2 min typical).
- FB: archival sequence — 1 min fix, 5 min wash, 10 min wash-aid, 5–10 min final wash (longer if toning).
-
Dry and annotate Squeegee gently, dry flat. Mark selects with a grease pencil or china marker.
Pro tips
- Print to maximum black: The rebate-to-black test standardizes proof density roll-to-roll.
- Editing marks: Circle selects, sketch crops those grease-pencil notes become a creative dialogue between photographer and editor.
- Contrast control: Use multigrade filters (00–5) if your sheet looks too flat or too harsh.

Color contact sheets (RA-4)
RA-4 is the standard process for color proofs from C-41 negatives:
- Expose RA-4 paper under the enlarger.
- Process in color developer + blix at ~35 °C / 95–100 °F.
- Use rotary or drum processors (e.g., JOBO) for even temperature control.

⚠️ Safelight caution: RA-4 paper is extremely sensitive. If you use a safelight at all, keep it very dim and far from the paper many printers work in total darkness.
Why they were popular: In editorial workflows (LIFE, Magnum, Vogue), color contact sheets let editors scan rolls, sequence images, and mark up selects for stories before final enlargements.
Why bother in 2025?
Even now, there's something about seeing every frame on one page that no amount of scrolling through a Lightroom grid can replicate. A darkroom contact sheet makes you slow down, look at the whole roll, and notice frames you'd otherwise skip. It's also a physical record of your editing that you can mark up, file alongside your negatives, and come back to years later.
Image Credits
- © Infrogmation — Contact Sheet Autumn 1993 – Milan — CC BY-SA 4.0 — via Wikimedia Commons.
- © Douglas Whitaker — SafelightAmberForBlackAndWhite.jpg — CC BY-SA 3.0 — via Wikimedia Commons.
- © きたし — Bw_test_strip.jpg — CC BY 2.5 / CC BY-SA 3.0 / GFDL — via Wikimedia Commons.
- Contact_sheet.png — CC BY-SA 3.0 / GFDL — via Wikimedia Commons.
- © Jacopo188 — Jobo CPE-2.JPG — CC BY-SA 3.0 — via Wikimedia Commons.